Hold on. WAIT right there. Before you ignore this post on how to replace the carbon brushes consider this … most appliances have motors, most motors have carbon brushes and the most common thing to stop a motor from working is worn carbon brushes.
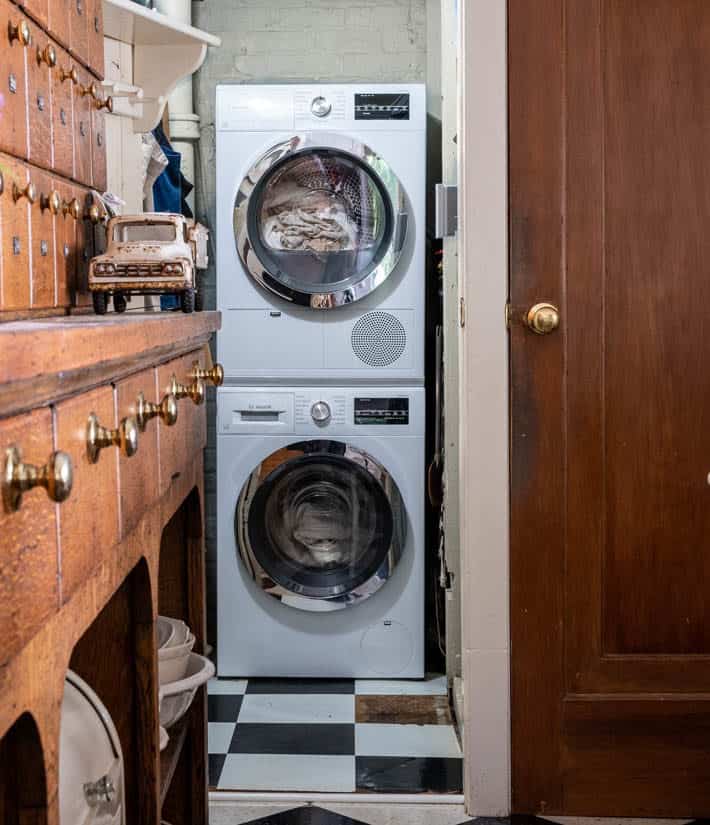
If you know how to replace them you can fix almost anything motor and save hundreds of thousands of dollars in your lifetime. Total exaggeration in terms of money saved unless you happen to own a nuclear power plant, but I had to get your attention.
Changing carbon brushes sounds like something only a large man with a hairy belly would attend to, but trust me … no hair is required. If you can replace a battery in your smoke detector, you can replace a carbon brush.
Just to suck you in a little more, here's a list of things that usually have motors with carbon brushes.
What has a carbon brush?
- Power Tools
- Vacuum Cleaners
- Washing Machines
- Dryers
- Blenders
- Kitchen Aid
- and MORE.
Not all motors have carbon brushes that you can replace, but most of them do. And it really is as easy as replacing a battery. Or close to it anyway. That's another tiny bit of exaggeration but I can sense you need a little encouragement. It's way easier than getting rid of back fat. I can guarantee that.
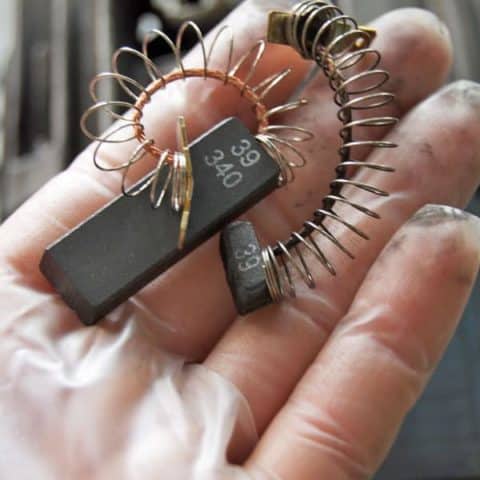
This … is a carbon brush.
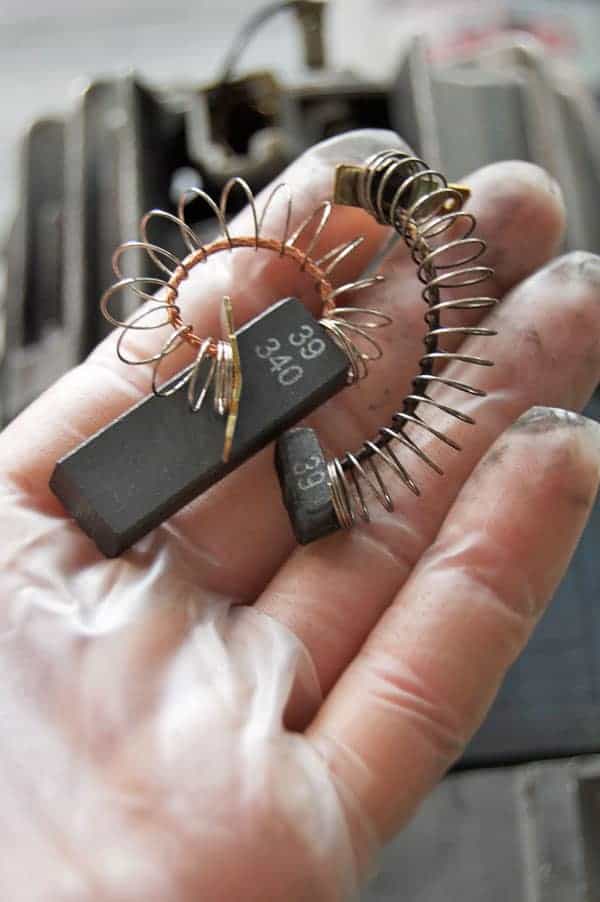
I know. You were expecting an actual brush. Surprise! They don't look like brushes. The one on the left is a new carbon brush. The one on the right is a worn carbon brush. It's like a pencil eraser that's been worn out.
A carbon brush is basically the "thing" that conducts the electricity to the motor. It actually conducts it through the motor's commutator, but since I don't care about that, I figure you don't. Don't worry about what a commutator is. Nobody knows and nobody cares.
Carbon brushes are built to wear down. If they didn't wear down, and they were constantly rubbing hard against the (nobody cares) commutator it would damage the commutator. Which is a bad thing to do even if you don't care about the commutator.
So carbon brushes are made of a material that is softer than the commutator. After years of wear, they end up being just tiny little nubs and need to be replaced because they no longer conduct electricity to the all important (but we don't care about it) commutator.
If the motor stops running, or the thing stops turning, sucking, blending or mixing … it's probably worn carbon brushes.
To replace them you need to do two things. You need to find out WHAT carbon brushes your motor takes and then you need to buy them.
You can Google your appliance and see if you can find the carbon brushes for your particular motor there, or you can call an appliance repair shop with the make and model of your appliance and have them look it up for you. Then if they carry them in stock you can either buy them from your local appliance repair shop or you can order them online. I ordered mine online because my appliance repair shop didn't have them in stock.
They arrived within 4 or 5 days.
So let's do this. Let's replace carbon brushes! Because it's FUN and we're FUN and everyone's here so we might as well! See? Isn't this the most exciting thing you've ever read about? And you thought this was going to be boring. Hah. I showed you.
I'll be showing you how I replaced the carbon brushes on my Bosch Front Load Washing machine. This is the machine I owned for 20 years and only replaced recently. The technique will be similar no matter what the appliance though.
Remove the motor. Sounds scary but isn't. O.K., it was a little scary pulling the motor out of my washing machine but now that I've done it I realize it really isn't scary at all and in fact I immediately felt superior to pretty much everyone else in the world the moment I did it.
Removing the motor from a hairdryer won't be nearly as scary.
Always UNPLUG whatever you're working on before you work on it.
I removed the back cover of my washing machine and located the motor with my eyeballs.
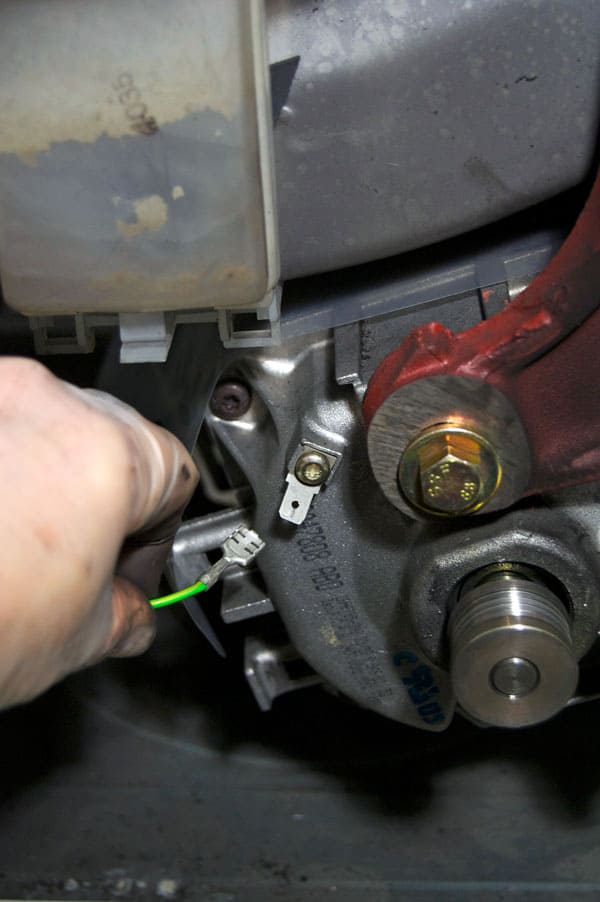
Any electrical that was attached to the motor got disconnected.
There was this little green wire ...
And this big plug of wires.
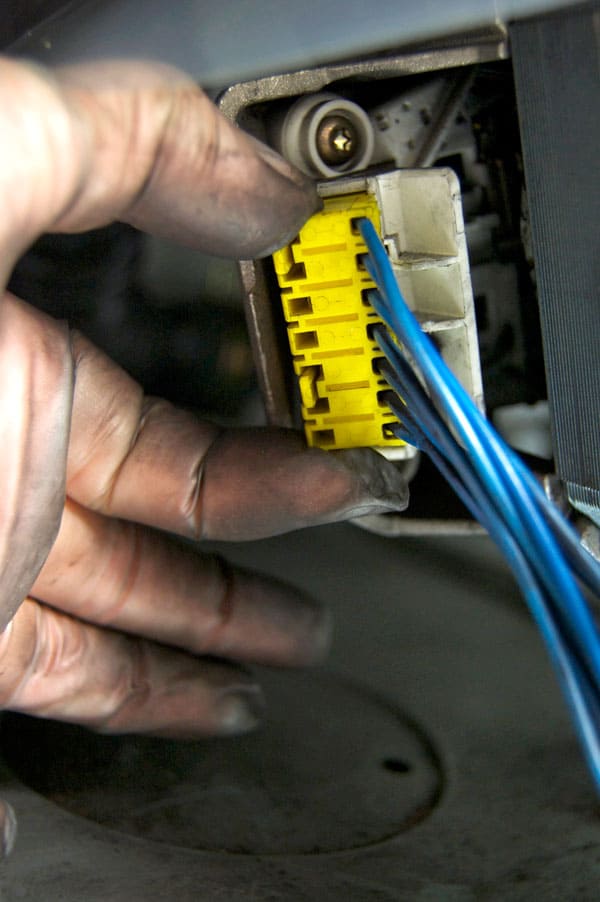
The inside of a washing machine and motor is filthy. Wear surgical gloves.
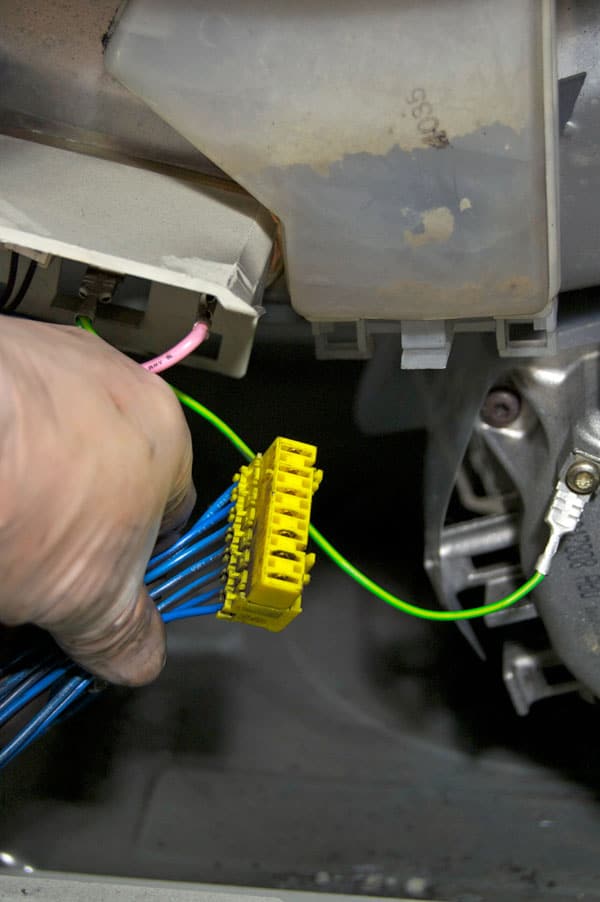
Once the electrical is disconnected you can remove the motor. This particular motor was held in by 2 bolts. One at the front of the motor and one at the back.
Loosen the bolts. First the one at the front.
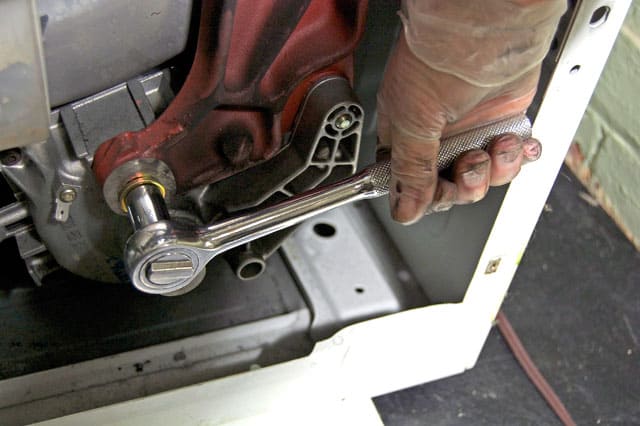
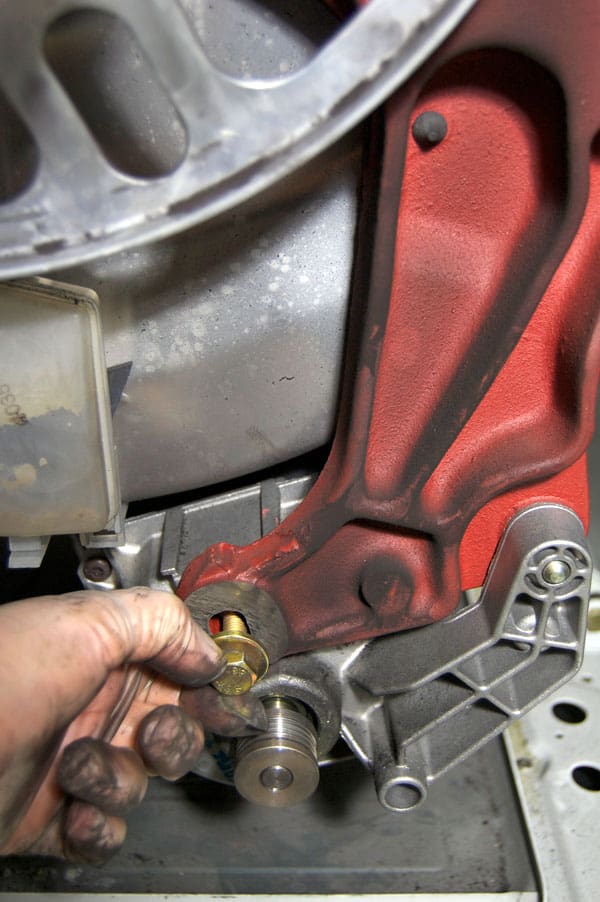
And then the one at the back.
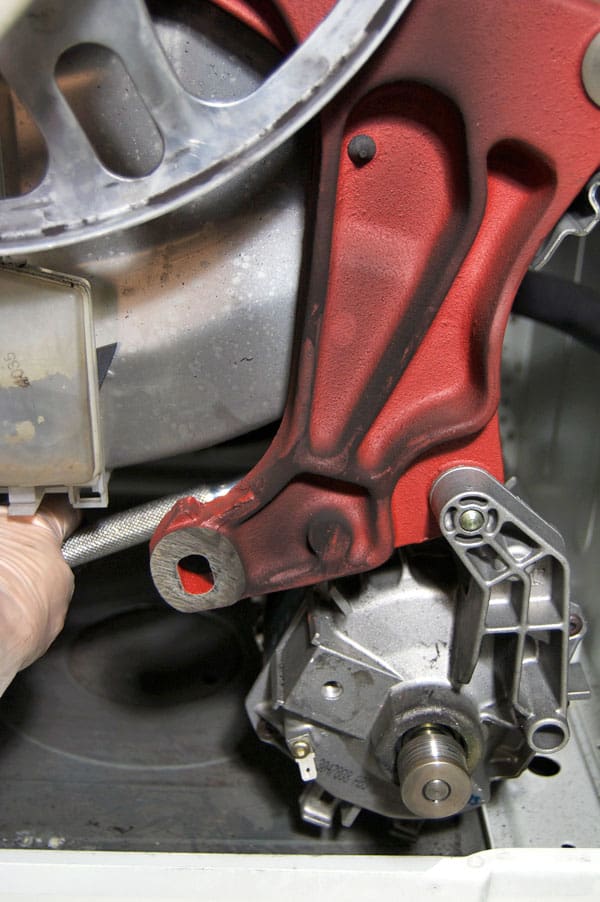
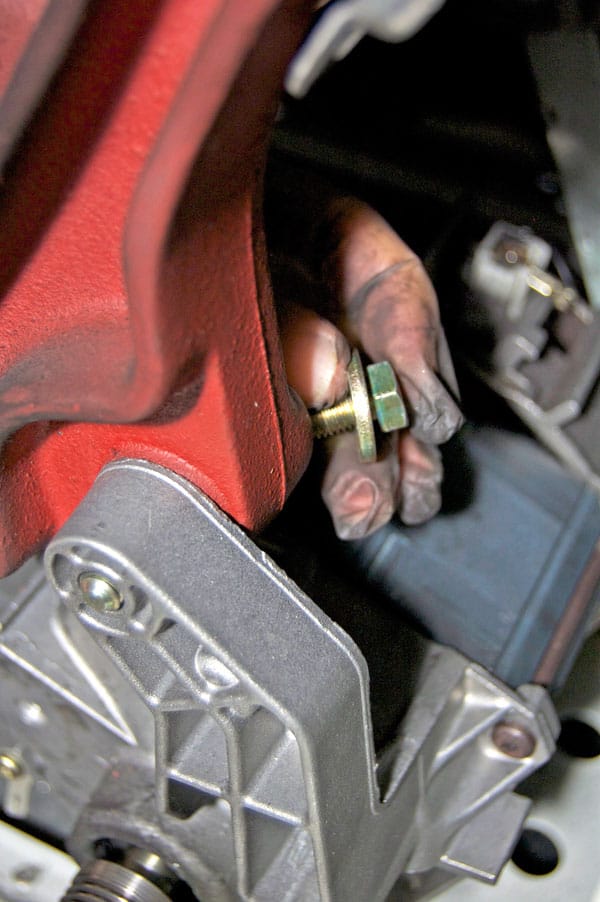
Now the motor will pull out with a little wiggling and work. It doesn't weigh much. A few pounds, so don't worry about that.
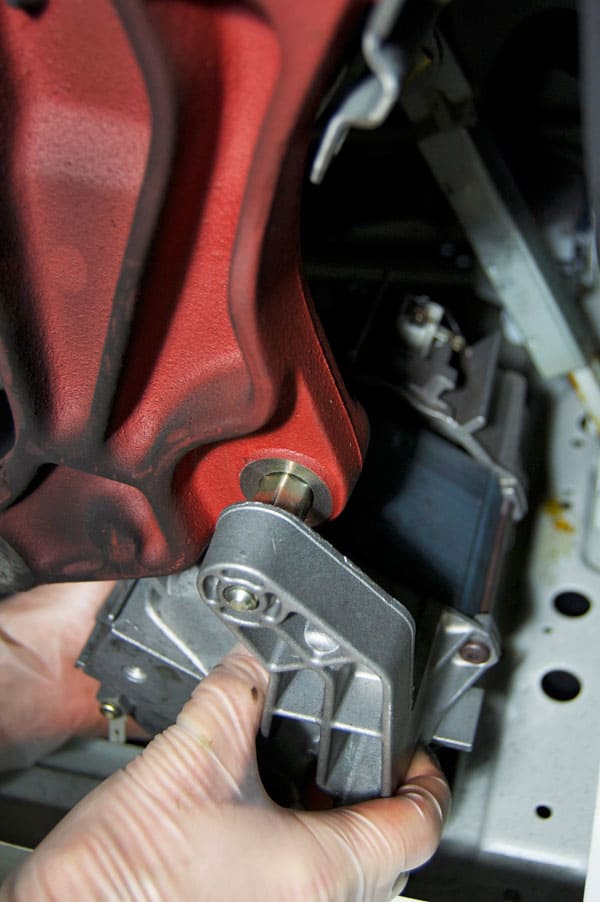
Would you like to save this stuff?
Drag it onto your work space and start looking for the 2 carbon brushes. I'm pointing to where the 2 carbon brushes are.
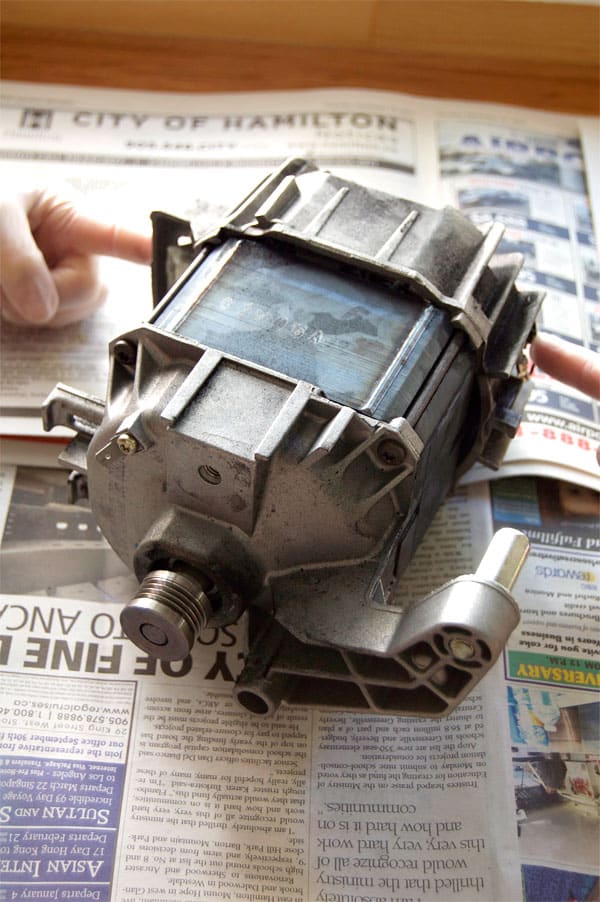
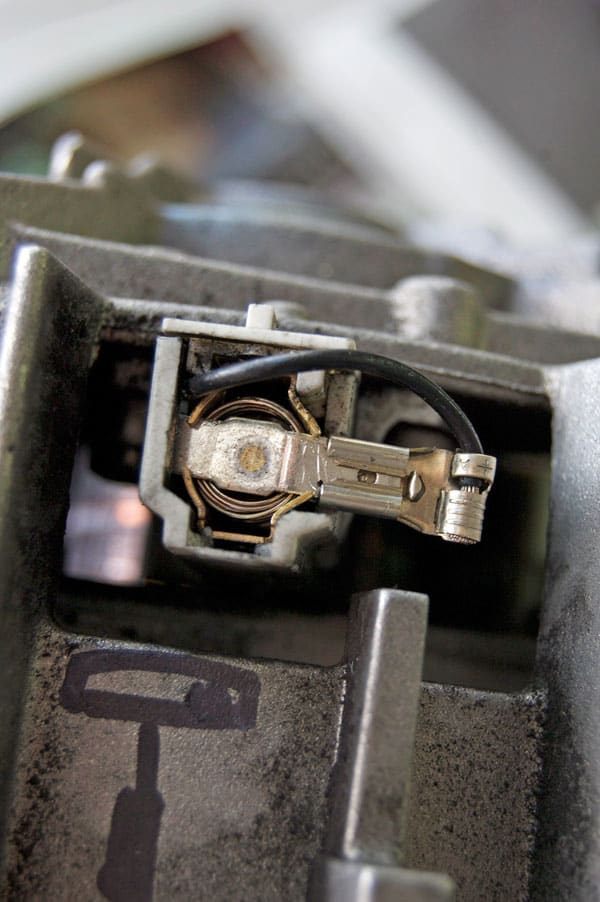
You can recognize the carbon brushes by the clips. This is what you're looking for.
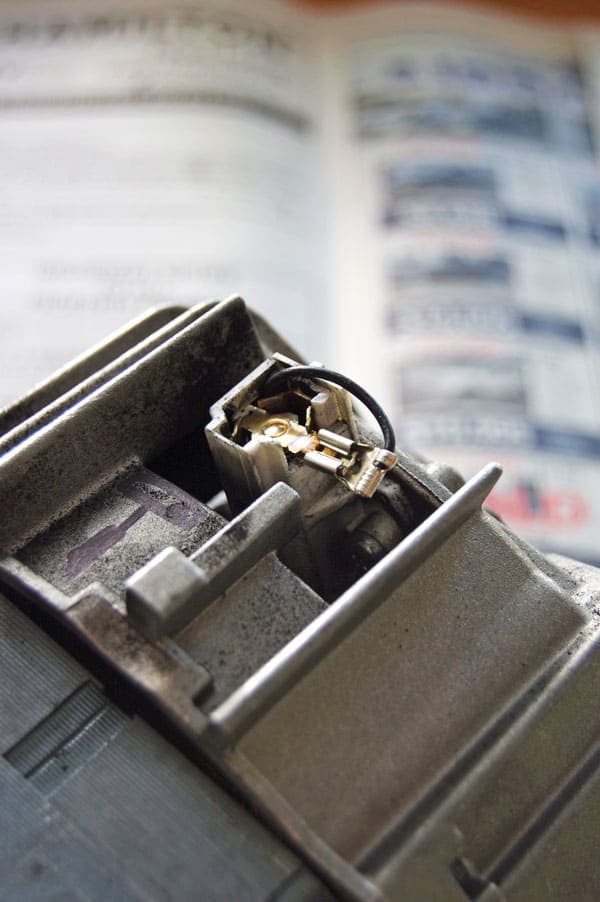
Simply pull the electrical connection apart either with your fingers or with needle nose pliers.
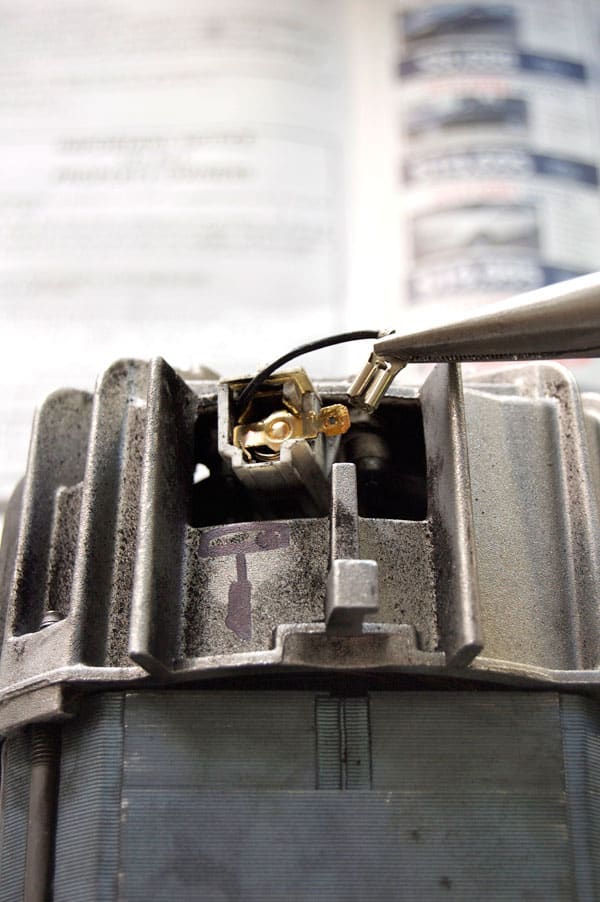
The actual carbon brush is held in place by a small brass clip which needs to be wiggled out of its spot.
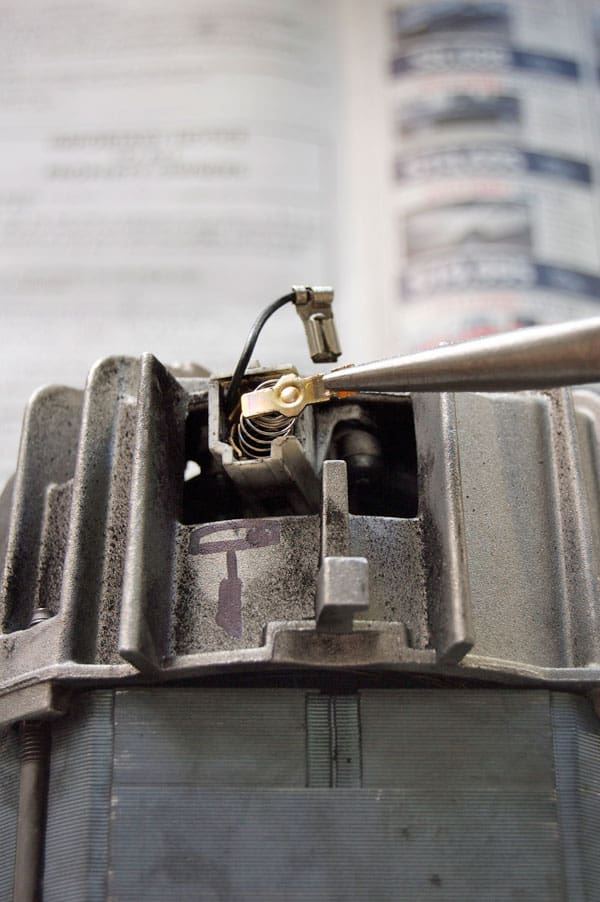
Then just give a little pull to pull the old brush out. Make sure you pay attention to what direction the carbon brush came out! It has a beveled edge and the new one has to go in the same way the old one came out, otherwise the brushes will be rubbing on the (we don't care) commutator the wrong way and won't work.
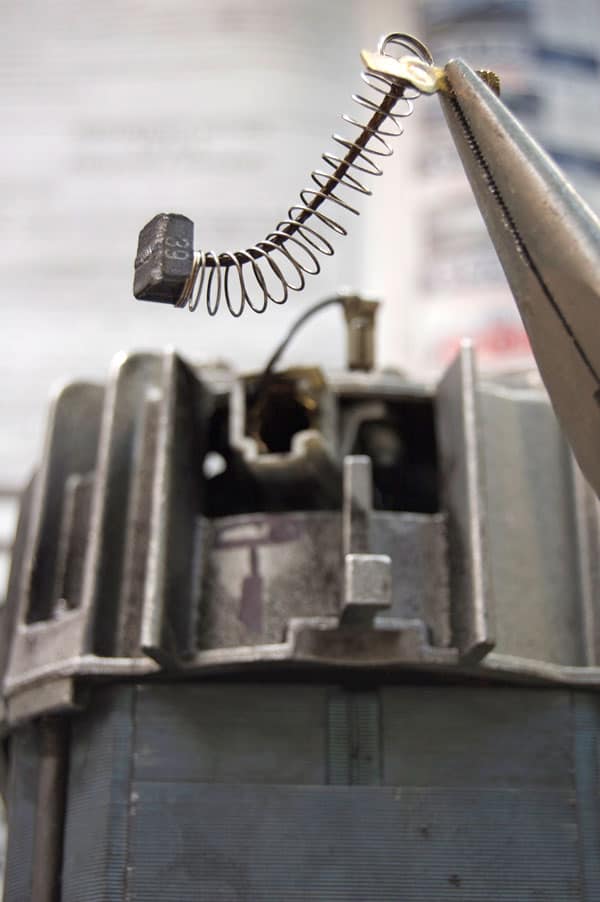
As a reminder, this is the old brush beside a new brush. You can see how worn down the old one is. No wonder it didn't work anymore. I wouldn't work if I was that worn out either.

Now it's time to put the new carbon brush in.
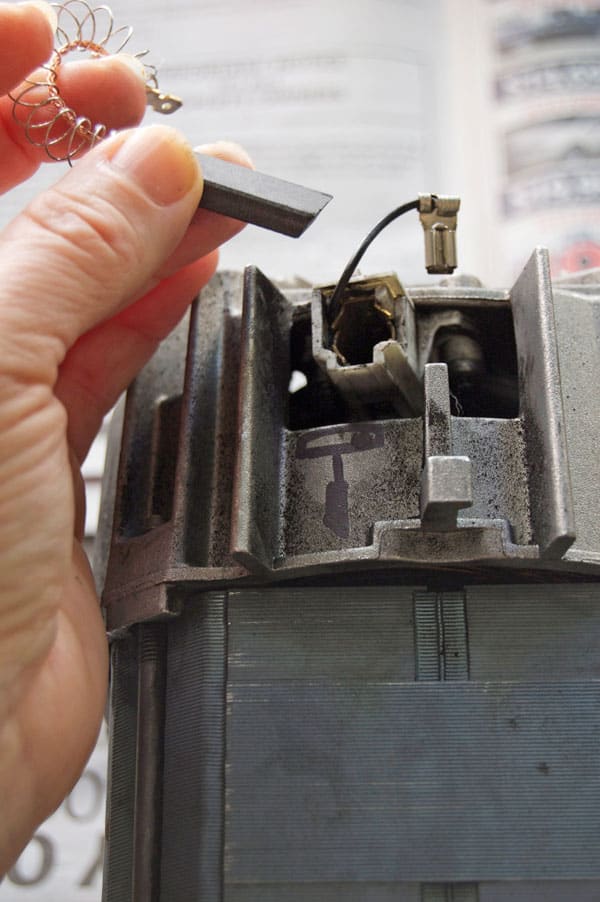
Just feed it into the hole you took the one one out of, making sure to put it in the same way. You can see I drew a picture with a Sharpie on my motor so I wouldn't forget which direction to put it in.
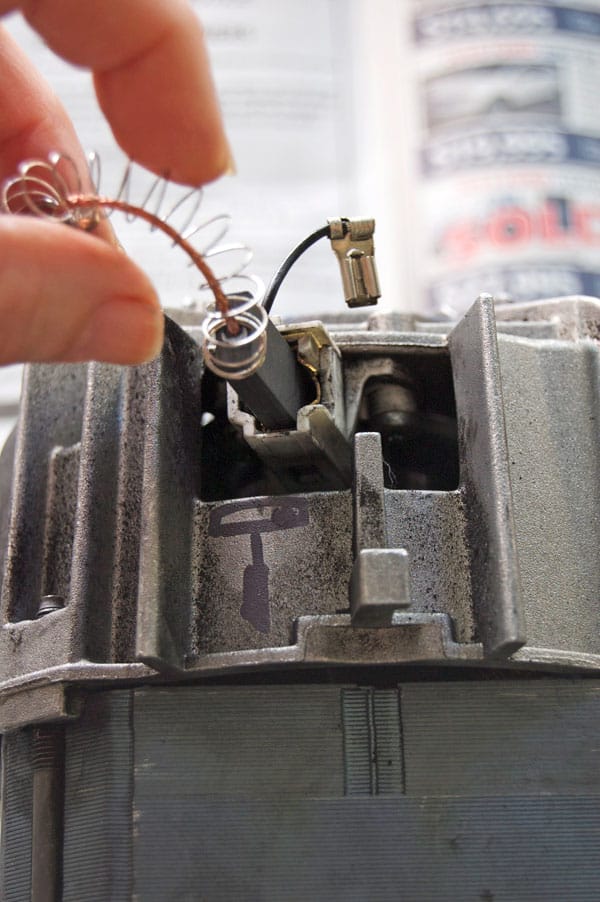
I had trouble getting it all the way down so I just used a bamboo skewer to coax it down.
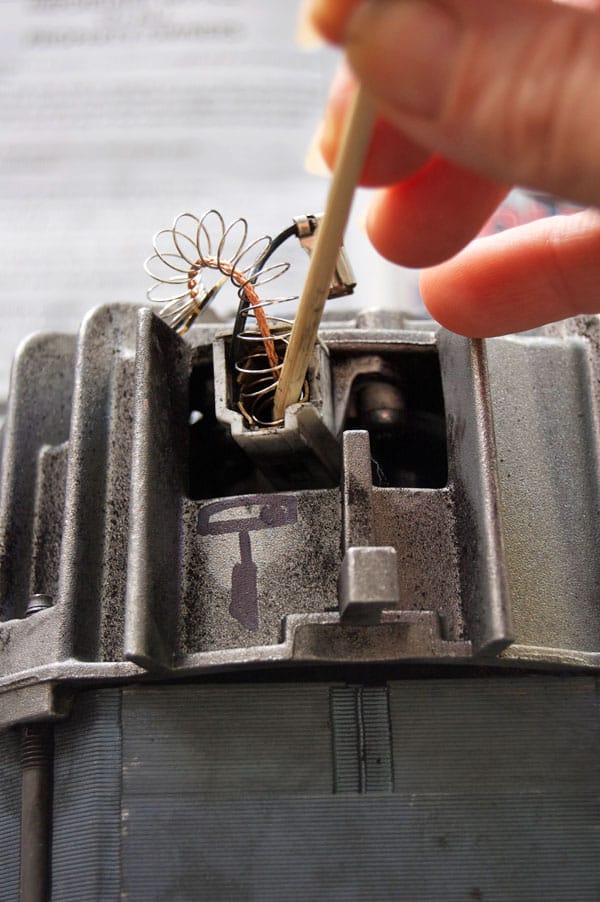
Squishing the springy coil down takes some patience and fiddling. Just keep at it and it'll all go down. Then insert the clip into the slot.
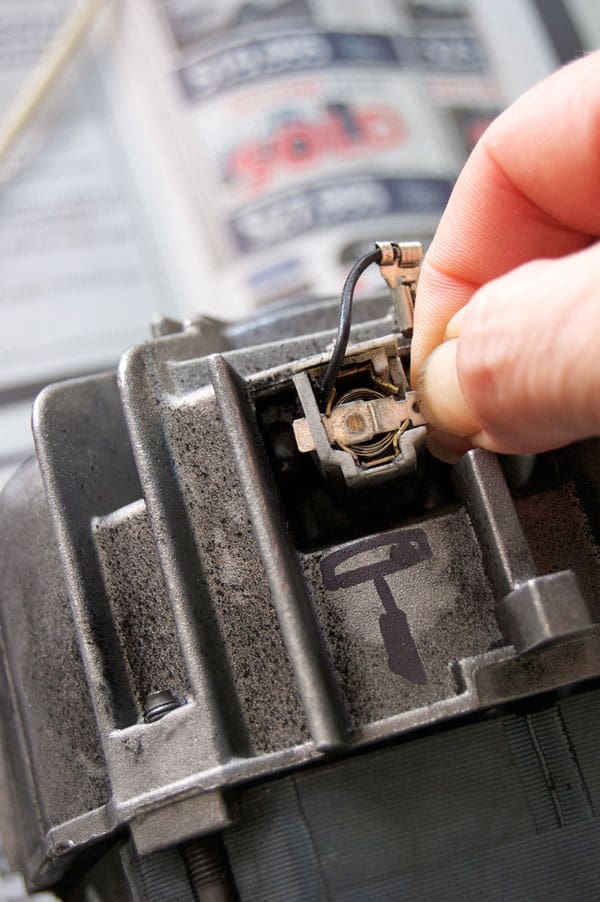
Reattach the electrical clip.
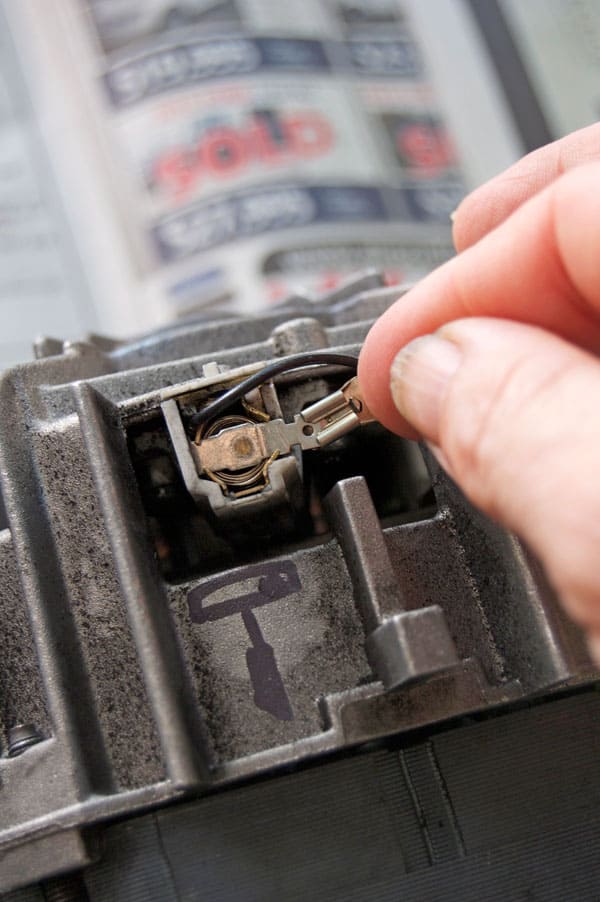
And you're done. Now replace the other carbon brush the exact same way.
Drag your motor back to your appliance, in this case my washing machine, and put it back in place.
How to Replace Carbon Brushes On Any Motor.
Materials
- Replacement carbon brushes
Tools
- whatever you need to remove motor from casing.
Instructions
- Remove motor from whatever appliance you are replaces the brushes on. Make sure it's unplugged!
- This might require that you undo wires running to the motor and whatever screws or bolts that might be holding it in place.
- Locate the carbon brushes on the motor and remove their electrical wires.
- Pull brushes from their housing in the motor. Pay attention to what direction they are in. Carbon brushes are angled on the end and the angle needs to be in the same direction when you replace them.
- Insert your NEW brushes and then do everything in reverse to put your motor back together.
I don't know about you but I feel confident that I could fix pretty much any problem now.
Except back fat.
→Follow me on Instagram where I often make a fool of myself←


Nark
Great informative article, and funny! Thanks
Karen
Happy carbon brush replacing. ~ karen!
John
Regarding the commutator you stated " Nobody knows and nobody cares."
If the brushes are as worn as the ones pictured you should check the commutator to see if the mica needs undercutting. If the commutator is worn to the same diameter as the mica then the harder mica will eat away the new brushes and/or cause the brushes to chatter.
Tom
Superb copy, really well written.
RGS
THAT was excellent. Made my day.
Jefcery7788
Why don't I care about the commutator? I don't get the joke
Erik
Custom carbon brushes can be made too using an unlikely source...your local arts and crafts or art/office supply store.
In the "drawing" supplies aisle you can find pure carbon graphite rods in many hardnesses. Shape them with sand paper to fit the housing. Use a dremel to shape a post, or drill a hole for a wire...heat shrink does well to secure the wire to a reduced post with a "neck" for the wire wrap.
For small motors a thick pencil lead can even work.
I have a "shop vac" running 5 years now on brushes from a dick-blick graphite pencil.
Karen
That's interesting! I had no idea. ~ karen!
Ikebununo
The write up was very good. Please keep it up. Thanks
Kimi
I found this really useful. Thank you.
Something else you might mention is to get some electrical contact cleaner and use a cotton bud or rag on a skewer to clean the commutator before you put the brushes back in. It should look all nice and shiny copper coloured, but over time and use will accumulate grey carbon as the brushes wear down against it. Giving it a clean will help it work better.
Barry Rice
If only getting the brushes removed were the easy part I'd be elated but I have brushes that I am told are no longer manufactured or in stock! So, I am going to throw away a nice table saw only because no one makes set of carbon brushes? There has to be a close copy someone makes but HOW do I get connected? Can't s I measure the profile of the carbon brush and contact WHO, that may have something from another manufacturer? Arent there shops that specialize in all manner of brushes?
Karen
Hi Barry. If you can't find it at a local parts supplier, Google the part and part number. There's almost always someone online who has discontinued parts in stock. ~ karen!
bill woods
barry did you see the entry from Erick about making your own June 15, 2022
Allen Liddell
As a fellow tinkerer, I have found that when faced with an array of different colored wire connections, etc. it helps to take a photo before you start. That'll take care of the ol' "did that blue wire go there; or was it the red one" delema.
Karen
Definitely Allen! :) ~ karen
Lin N
My Dremel stopped working. I have another other brand, heavier one. Was missing my Proper Dremel. Did some research and learned about brushes. Ordered them online. Replaced them and viola, Dremel works just fine now. Good points in your article, make sure carbon piece goes in same direction you took it out. Always great to see pictures. Love your 'How To's'. Thanks Karen
Karen
You're welcome! ~ karen
Grumpfrey McGrumpalot
Stop making me look bad.
Karen
LOL. I'm not trying to make you look bad, I'm trying to make myself look good. ;) ~ karen!
j
you are empowering rock on