The 1 hour routine I do every night during seed starting season condensed into a 5 minute tip-filled video. This is how to make sure you have healthy plants that can fend for themselves once they're out in the world.
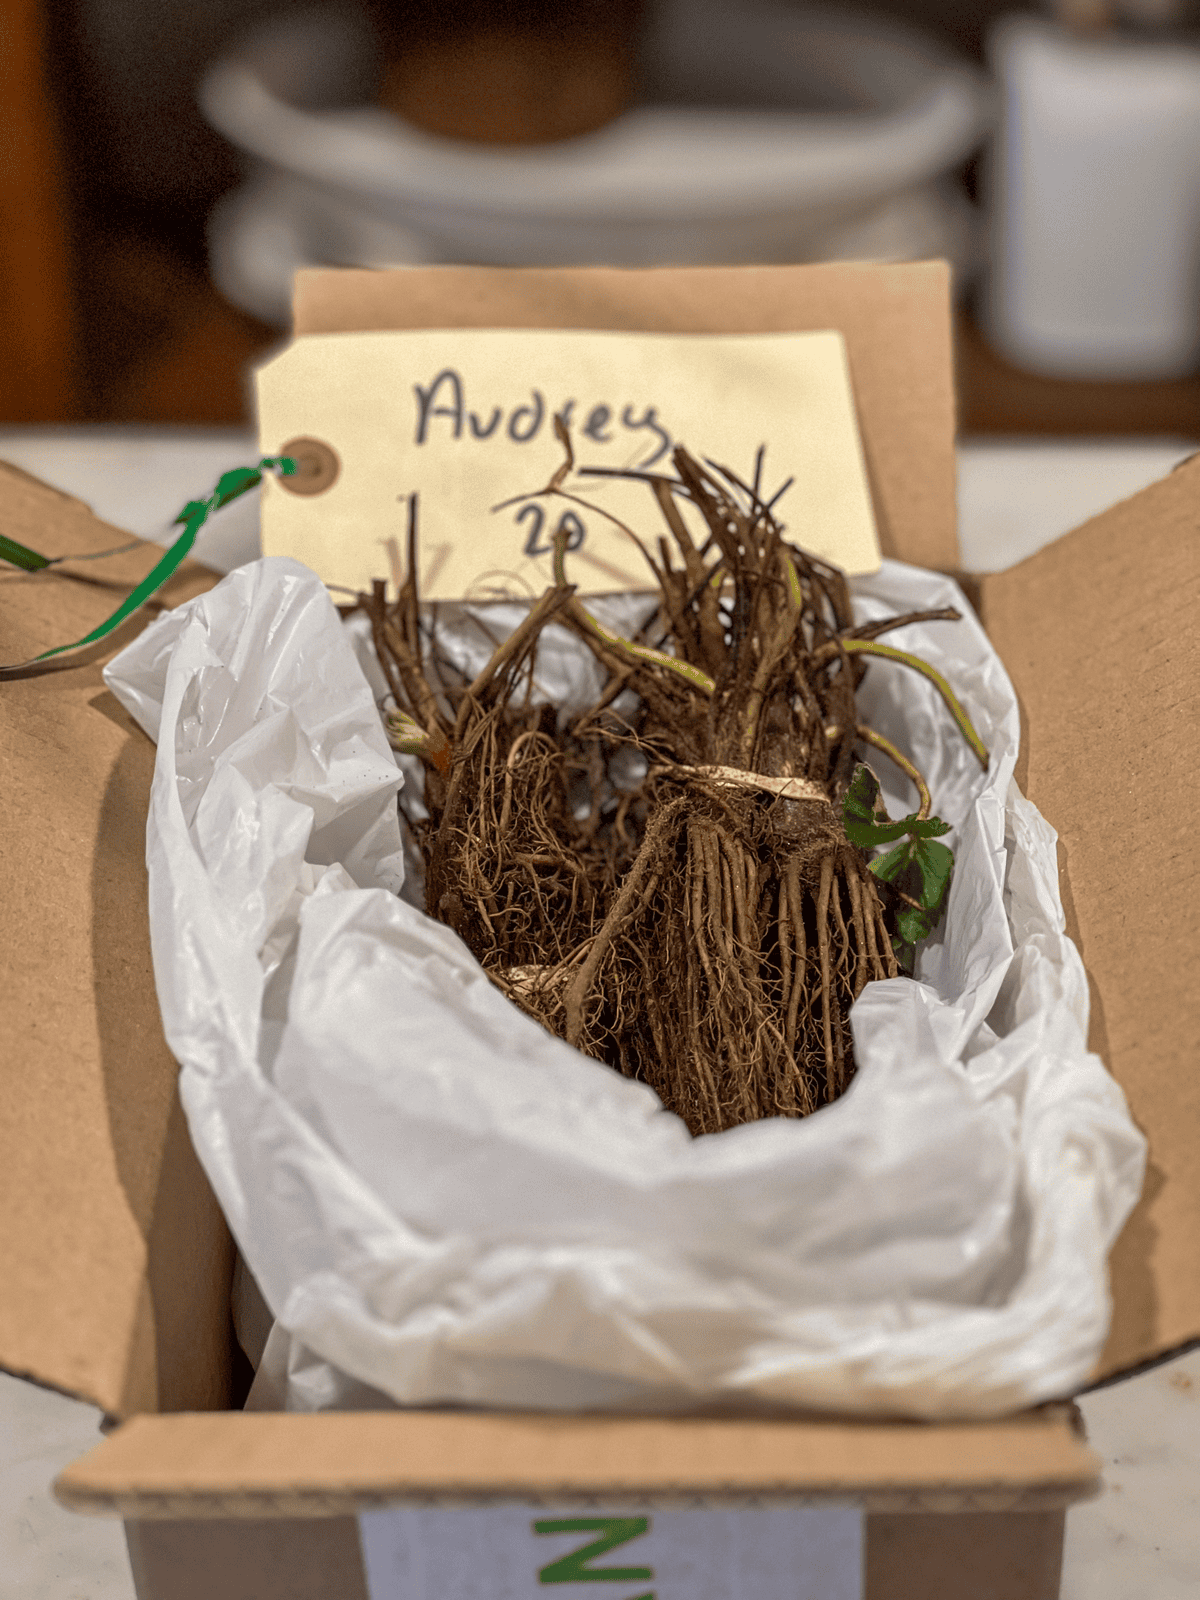
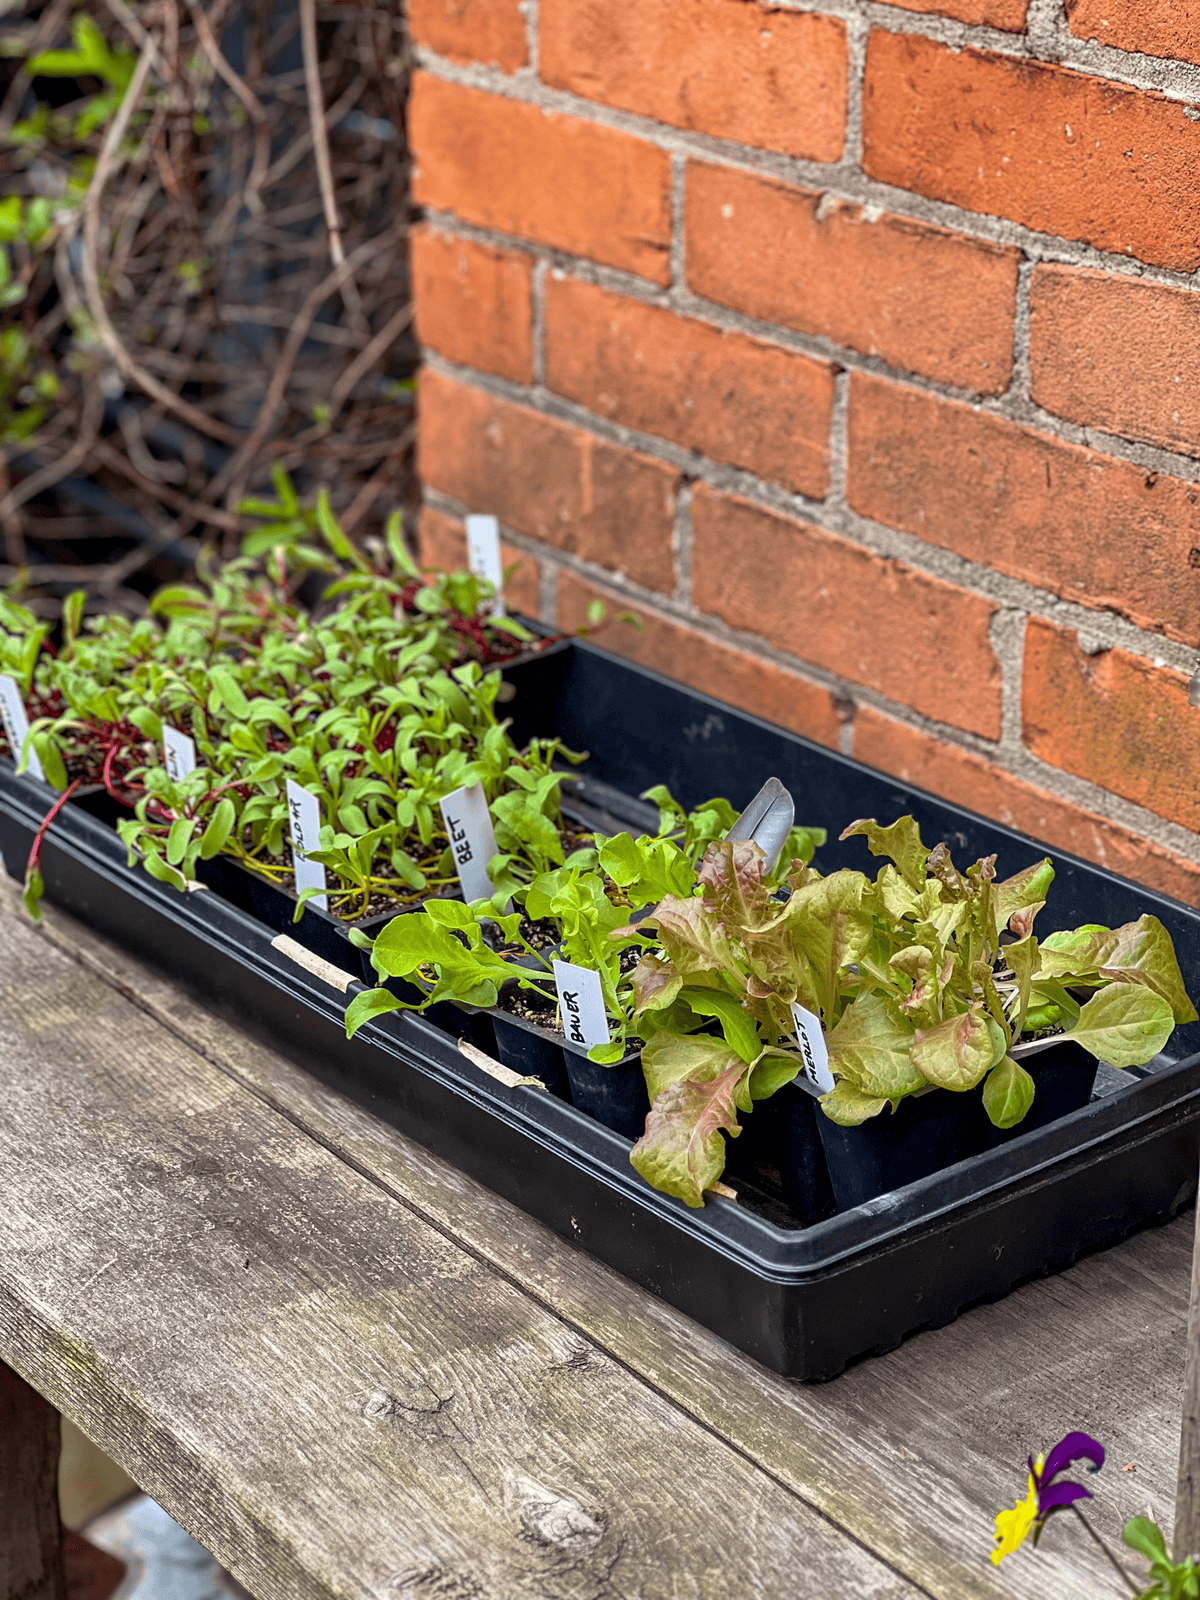
Table of Contents
Sowing is Simple, Growing's a Grind
Ask any parent and they'll tell you planting your seed is the easy part. Keeping it alive until it can move out is the real trick.
At first, seed starting is simple: stick seeds in dirt, celebrate sprouting by moonwalking. But within weeks, it’s chaos—seedlings at different stages, more seeds to start, some to pot up, others to harden off.
Quality Seed Time
Every night I say my centipede prayer and then descend into the basement for one hour of planting and checking on the seedlings. If you do this nightly check, when the time comes to plant them out, you'll still have happy plants.
Quality seed time—real one-on-one stuff—is how you keep plants alive. Still, every year, despite your best efforts, something always ends up circling the drain before it makes it outside.
Two years ago, it was all of my luffa. I let them dry out. They died.
Luffa are the last thing I plant out, & while they were still in the basement, I was in the garden, frantically cleaning & planting everything else. So I forgot them. Or abandoned them. Potato, potahto.
One year I lost an entire flat of tomatoes. Beets? Always damping off. Onions? Never started early enough. It happens—to me, to you, to every gardener who thinks they’ve got it together.
The one thing that helps? A nightly seedling check.
Mine takes about an hour if I do it properly & start new seeds. I redid the growing setup in my basement in 2024 and I still really like it.
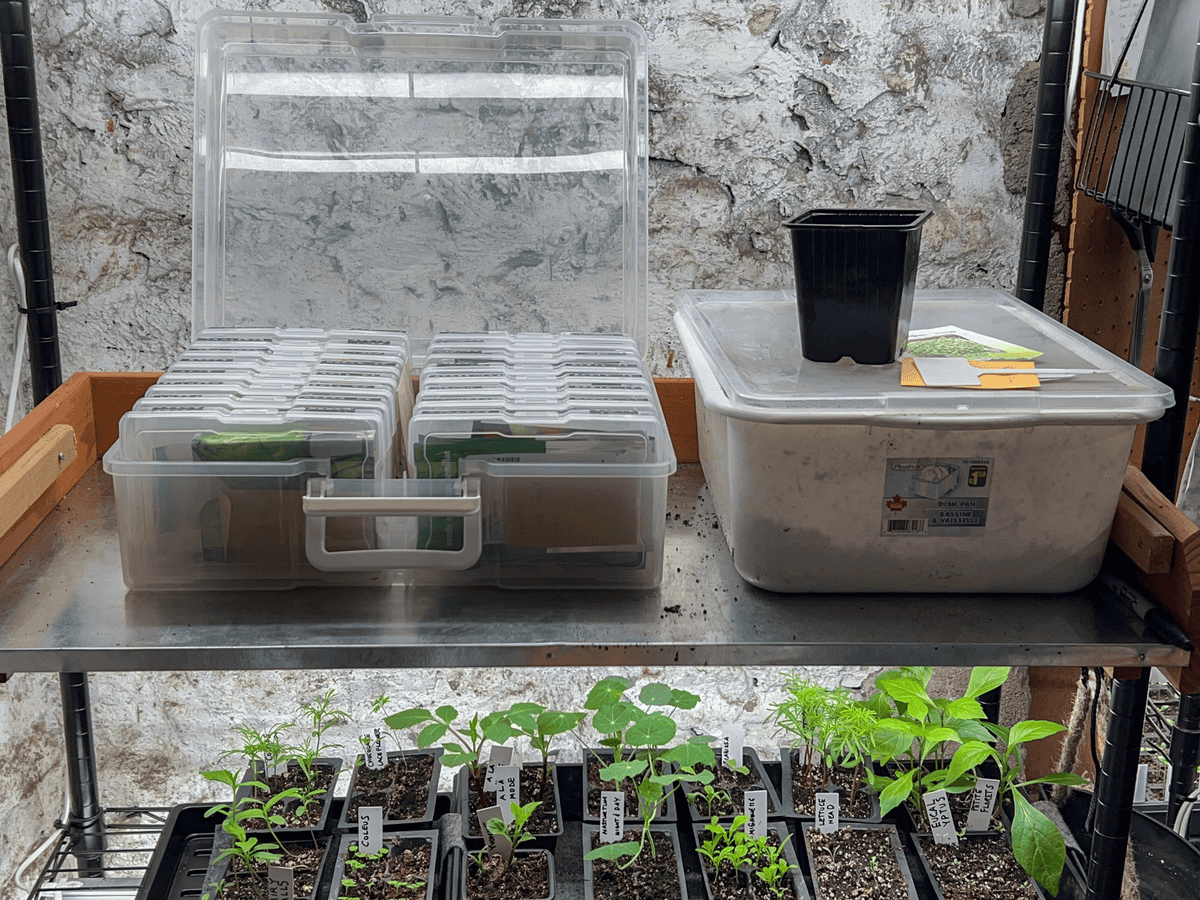
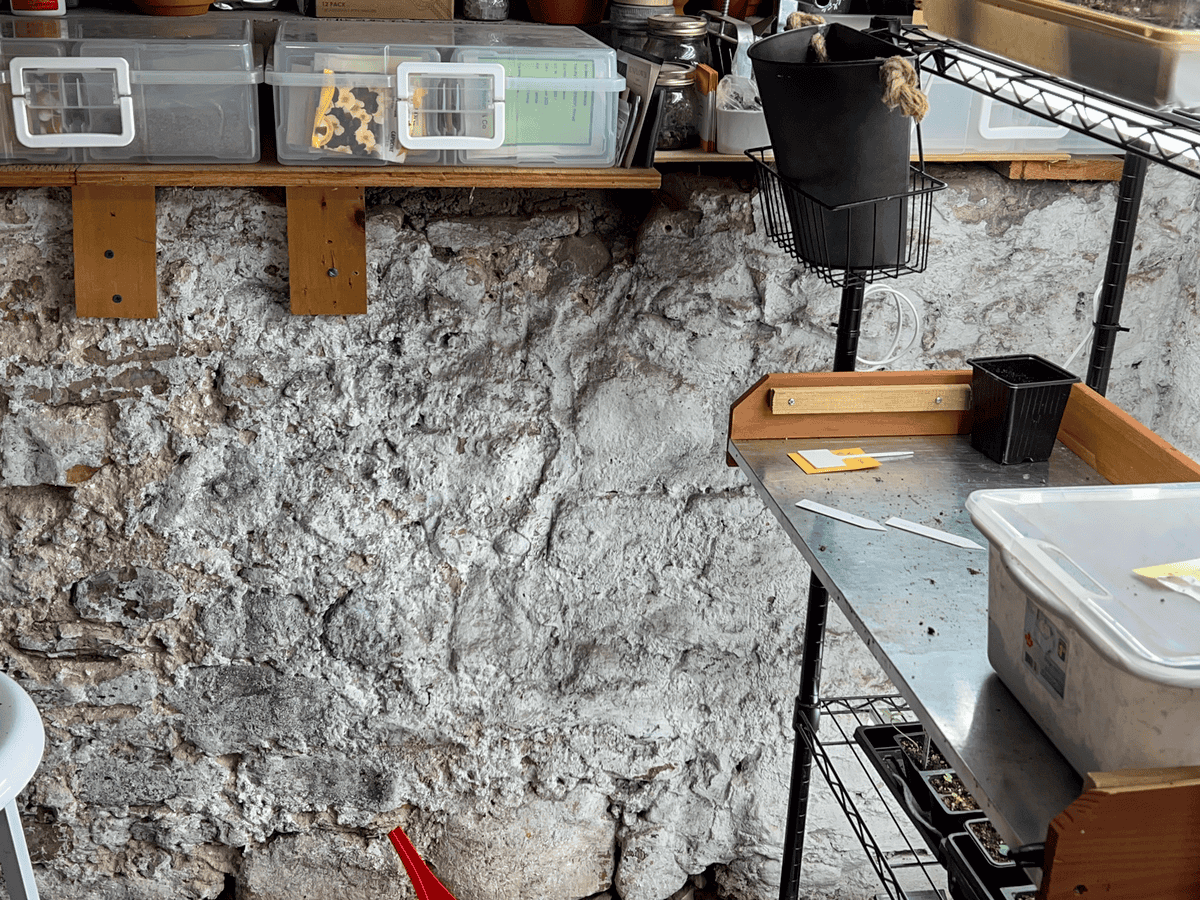
My Seed Storage Setup
I have a lot of seed so I need big seed storage.
I use these photograph storage cases to organize and store all of my seeds. It is not as beautiful as when I stored my seeds in wood boxes and glass vials but it's more practical.
The Smaller Version
You can also get a smaller version of this photo box that has 6 cases instead of my suitcase-like boxes that hold 16.
Would you like to save this stuff?
All of my seeds are in these cases on a shelf to the left of my seed starting station so they're easy to grab and (more importantly) easy to put away when I'm done.
My 1-Hour Nightly Seedling Routine
I have compressed the full hour into 5 minutes through the magic of speeding up the footage.
Throughout the 5 minutes are tips that I wouldn't necessarily think to tell you about in a regular post.
The tips are spur of the moment things I'm doing that I think are valuable bits of information for you, as a gardener, to have.
By doing this every night I'm increasing my chance at success in the garden later. Taking care of your seedlings will make them as healthy as possible, and healthy plants are strong, disease and drought resistant plants.
The better you treat your seedlings now, the better they'll treat you later on.
Some plants go under such stress if you let them dry out even once they can take weeks to recover and get back to their normal growth routine.
The Seed Starting Tips
- A lot of condensation on humidity domes usually means it's too wet in there. Leave the lid askew to dry out a bit overnight.
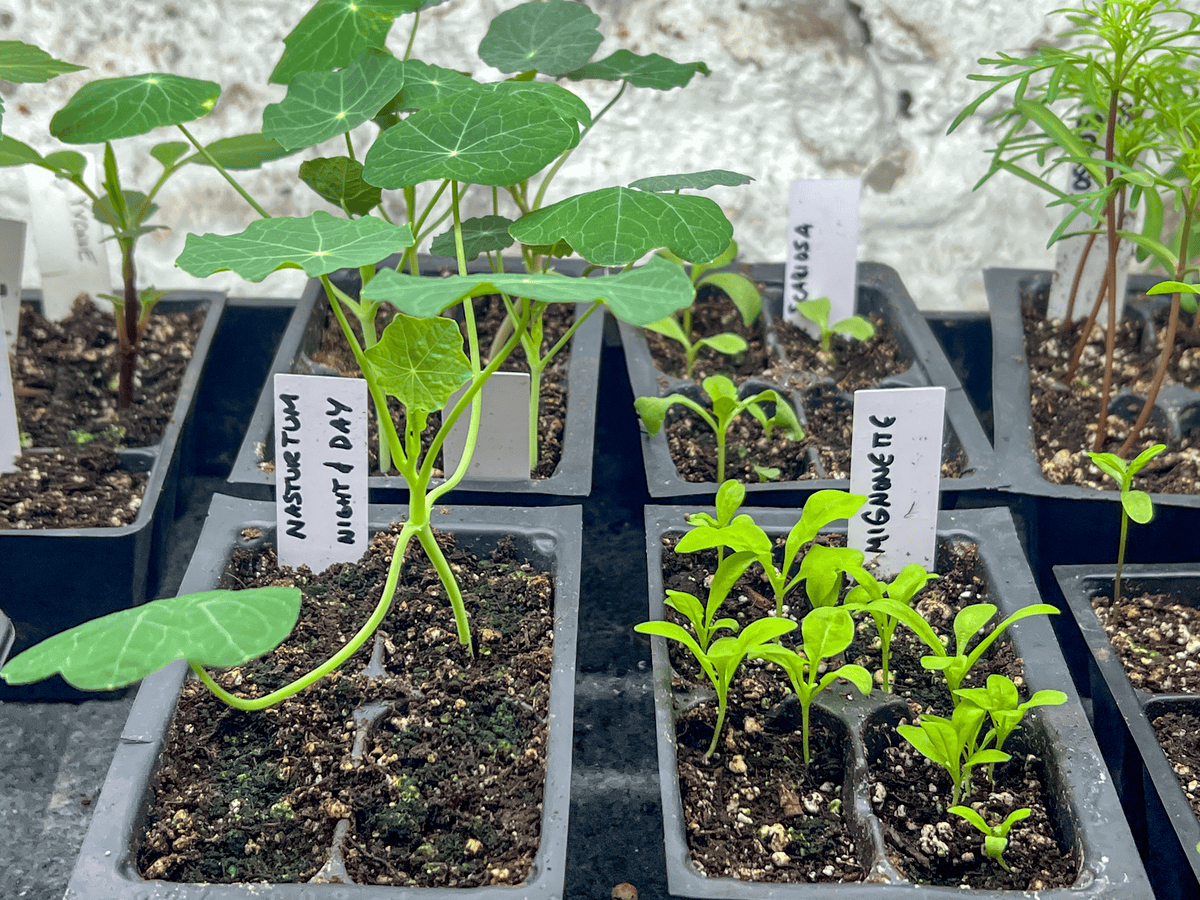
- Inspect for sprouting, water levels, damping off. Move anything that has sprouted from the humidity dome to under lights. Make sure bossy plants like dahlias & nasturtium aren't shading smaller plants.
- Dahlias should eye up before planting. To help, place them in a warm, bright area. I use a heating pad.
- Shrivelled/dry tubers? Drop them in water overnight to plump them up.
- Sweet peas rot easily. I don’t soak them overnight and keep an eye on moisture before sprouting. (watch that humidity dome)
- Prevent disease spread. Wash hands or use a 1:10 bleach-to-water spray between handling plants.
- Keep a watering can pre-mixed with your usual fertilizer & ratio written on the side. Use it for wetting your seed starting medium.
- Planting medium moisture test: Grab a handful, squeeze. A tight fist should force a few drops of water out. That’s the right level.
- Label before you plant. Insert labels into the row before dropping seeds.
- Seed the row, then cover. Drop seeds across the row, then cover them.
If Nothing Else
Commit to laying eyes on your seedlings once a day.
Every. Single. Day.
Do not miss it even once.
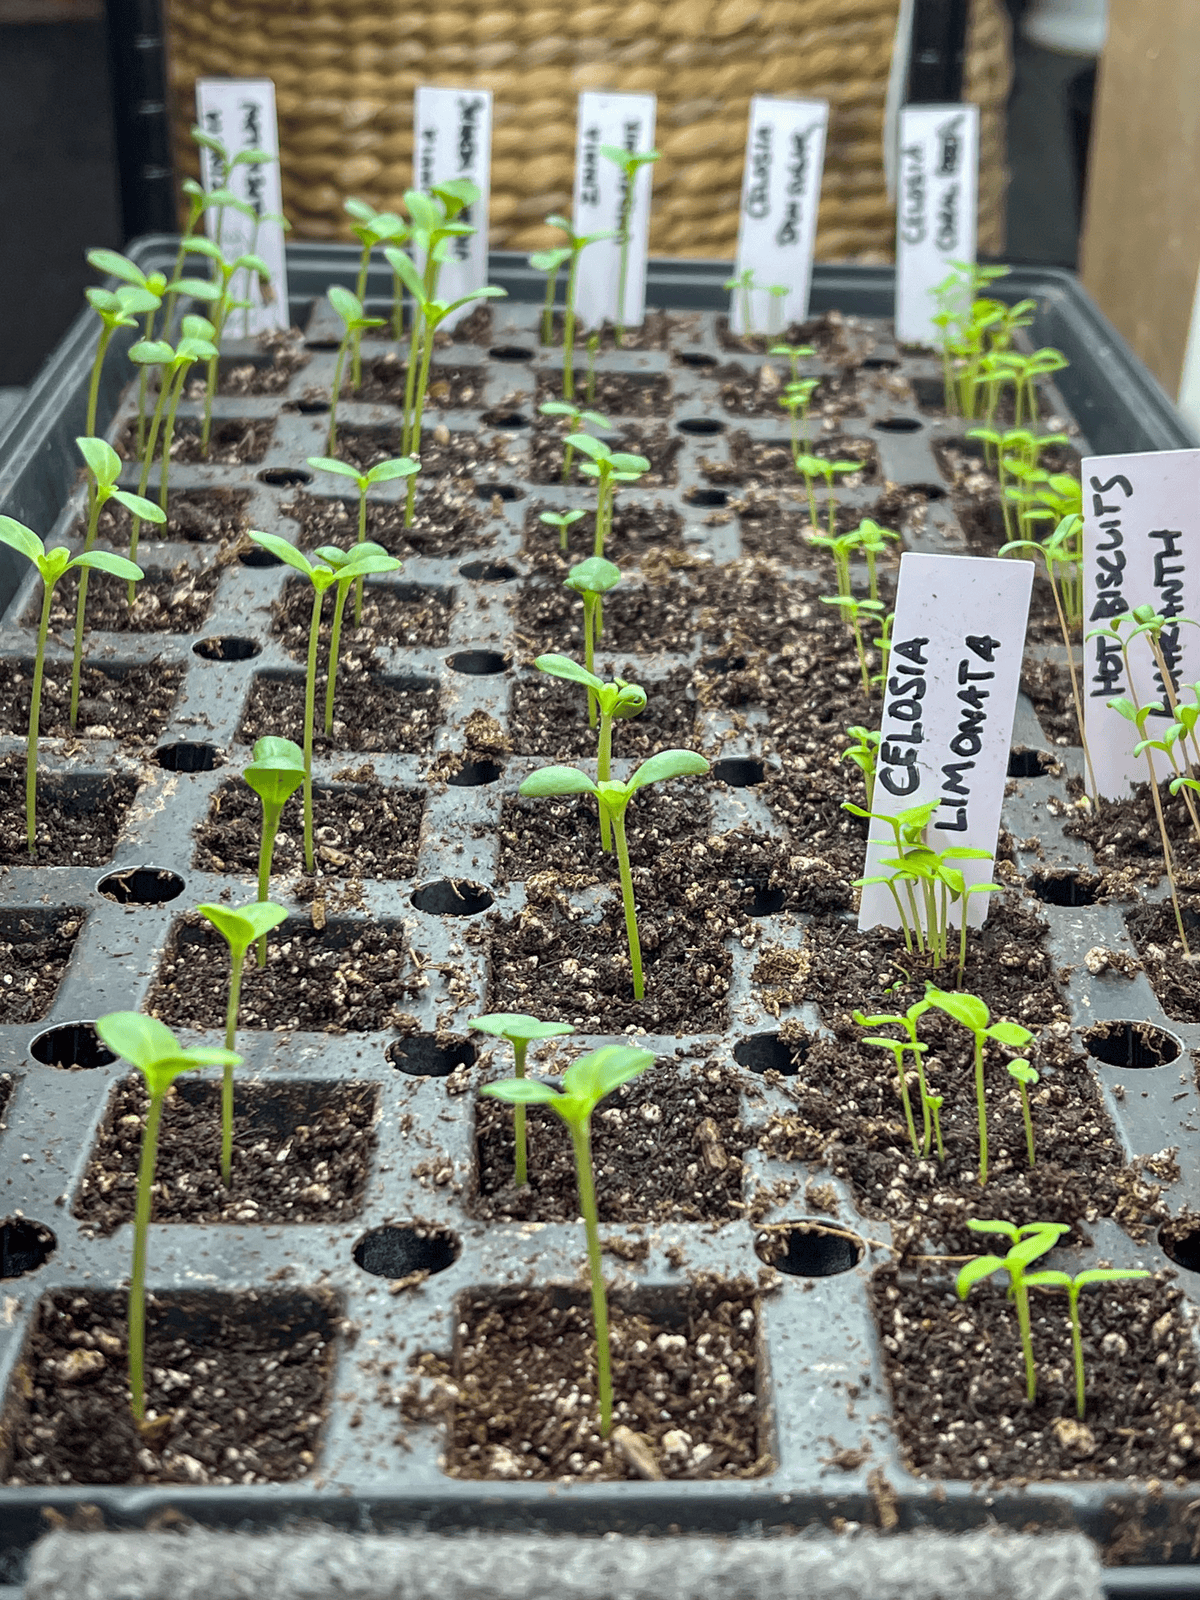
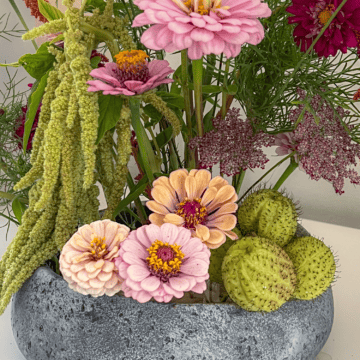
The seeds I was starting in the video (some of the Floret Zinnia and Celosia collection) are below.
If you're interested in the strawberries I ordered in 2024 you can see that here. This year, (2025) will be my first year harvesting them.
And if you're now thinking you'd like to grow strawberries, you should read my strawberry growing guide right now, because you need to get those strawberries planted soon.
One year I peeled a strawberry and planted the seeds. They actually grew! Unfortunately, I lived on an air base and didn't have any place of my own to plant them. I plan on trying it again since I have plenty of space to plant them now.
Fascinating! That sounds like a fun experiment that I might want to add to my never-ending list of things to try. ~ karen!
Karen how is it that you do wick watering?
Happy news that your stout efforts in reorganizing last year are still serving the operation of your indoor gardening now. You have true dedication to the artform.
Organizing crap has genuinely added hours to my days. Sorry did I say hours? Minutes. But several of them. And sometimes hours. Let's just go with minutes - hours. ~ karen!
Hah! For as diligently as you labour, every minute you gain would equal one of MY hours. -lol
I absolutely noticed that particular plant name! It's eye-catching.
Karen, did you mean a ratio of 1:10 bleach to water or water to bleach?
HI Barb. That's 1 part bleach, 10 parts water. It's actually a strong solution but it works. You can try to dilute the bleach more which will be easier on the tiny week old plants but may not kill off the bacteria. So it's a bit of a tough call, lol. ~ karen!
Very helpful video. I love the hanging baskets holding water for the mats. Brilliant. Why did you stop using soil blocks?
This is a helpful video! I really liked the suggestion to mark the seeds with the planting date, brilliant! I need to work on my set up, yours is looking super useful.
I store all my seeds in the fridge, an entire drawer dedicated to seeds, some of them many, many years old. Maybe not all viable, but most are.
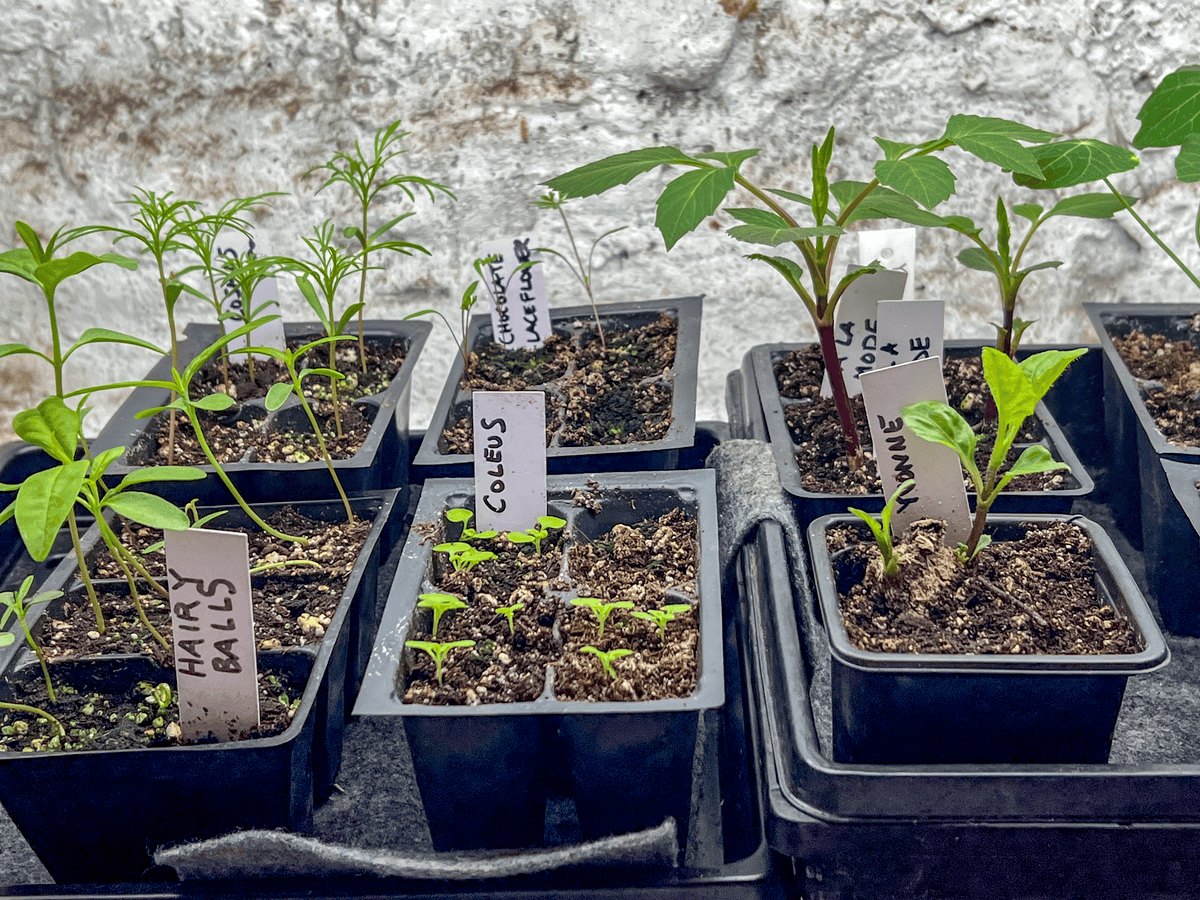
I saw lots of things I haven’t grown for a while including mignonette but I laughed when I saw “hairy balls” so, is that it or, more embarrassingly, did I misread? I’m growing “hot biscuits “ amaranth for the first time, per your recommendation! Thank you for sharing, as always!
Hi Terry! I am indeed growing hairy balls. Green hair balls to be specific! ~ karen
Your dedication is overwhelming and so admirable. I see too many people who get all gung-ho first thing in the spring and then by maybe June, everything has gone by the wayside. Such a waste of time and effort upfront just to let everything go...Your basement planting area is wonderful and looks so efficient. Organization makes things go more smoothly, right? Best wishes for a happy garden!
Thanks Chris. This new setup and complete overhaul of the basement has made EVERYTHING easier. Now. As you say - I just have to keep them all alive until planting, lol. ~ karen!
I don't see the link for the video?
Hi Nancy. If you have an ad blocker on your computer you aren't able to watch my videos. If that isn't the case try using a different browser than the one you're currently using. So if you're using Safari, try Chrome or Firefox or vice versa. ~ karen!
I am also not getting the video. Getting several long ads and then Christmas reveal, shaping Danish cookies then more ads, another random video, more ads, on and on. Have tried safari and chrome. ☹️
Looks like the new arrangement down there is a model of efficiency. No wasted steps. The logistician in me says Kudos Miss Karen.